Boned Bodice – aka The Great British Sewing Bee
We saw the contestants of The Great British Sewing Bee tackling a boned bodice in their first challenge of
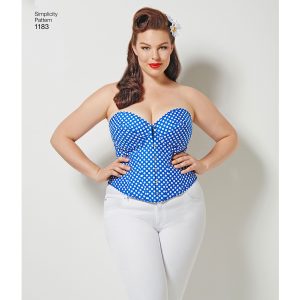
Make your own Boned Bodice for figure enhancing style (Simplicity 1183)
week 5. It can be a tricky garment to make and so I’ve got my ten top tips to share.
- Check the size you are to make and make sure it suits your measurements as a boned bodice can actually be smaller than body size!
- Accurate seaming is essential because even 2-3mm out on multiple seams of a tightly fitting garment can make it far too small, or too big. So accuracy is key. If you are concerned, use a magnetic seam guide or lay masking tape across the flatbed of your machine the right distance from the needle and use that as a guide.
- If you are making it for your self, ensure the bust cups fit perfectly by putting a bra on a dressform and padding it as necessary to mimic your exact size.
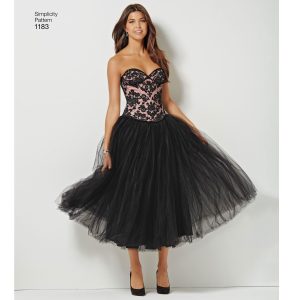
A boned bodice makes an elegant statement to an evening outfit (Simplicity 1183)
- There are often lots of little pieces, that could get confusing and be attached wrong way up – unless you keep the tissues with the fabric pieces until you sew them together. That way you can ensure you use them the right way up and right way around.
- If you are using a fabric that looks the same front and reverse, mark the reverse of each fabric piece with a little chalk cross so that you make sure you stitch them together the right way around.
- Boning is slightly curved so make sure when you insert it into the channels you create that it will curve with the body.
- Round the ends of the boning so they don’t dig into you or poke through the seams. If possible, add boning caps – which are little rubber caps used to encase the end of boning. You stitch them in place before inserting the boning.
- If you do break a needle, or jut have to replace a blunt needle, put the broken/old pieces into an empty tic tac box – perfect for disposing of them safely.
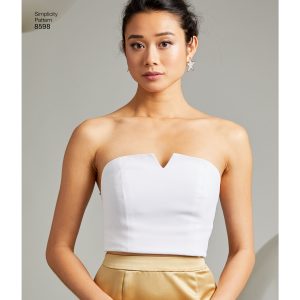
A well fitting boned bodice will stay up and hold everything in place (Simplicity 8598)
- When using the busk and hook and eye hardware, do take time to read through the instructions for application carefully. You also need to buy the length of busk and hook and eye to suit the size you are making as they come in specific lengths.
- To attach bias binding, try using an adjustable bias binding foot – it makes it so easy! The bias binding is put into a U shape groove in the foot and the fabric slipped between the layers and stitched, top and bottom at the same time perfectly! If you don’t have one, you can stitch the binding to the wrong side first – open out the binding and stitch, in the first crease of the binding. Fold the binding to the right side, encasing raw edges and then stitch again close to the edge.